Ayşenur Taştemel — Interior Architect - Corporate Marketing Manager
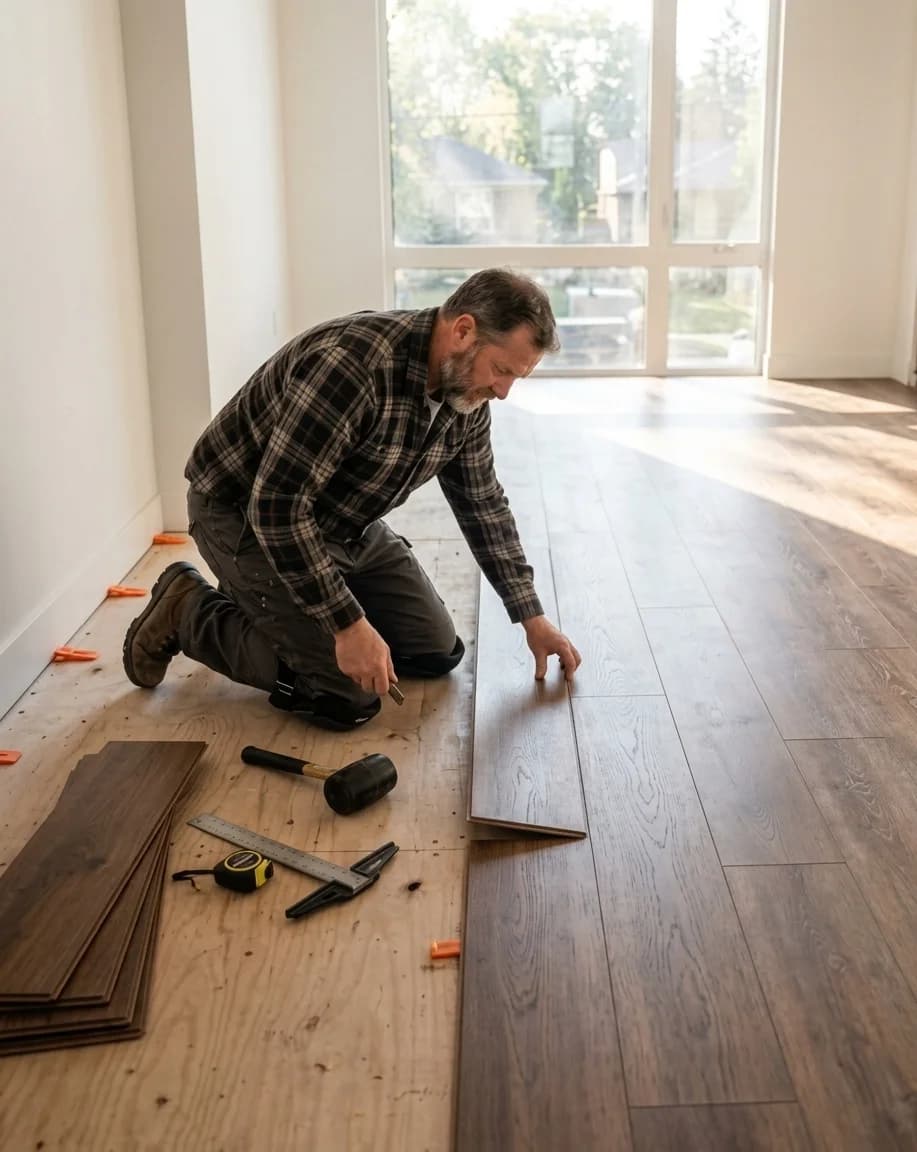
Flooring renovation usually brings to mind tearing out the old covering, debris, dust, and a construction process that drags on for days. But SPC flooring's practical locking system removes that process altogether, in most cases allowing direct installation over your existing floor. In this guide, we explain how renovating without demolition actually works.
Why SPC Flooring?
Traditional flooring renovation is a burden on both time and budget because of demolition, debris removal, floor preparation, and drying times. SPC flooring installed without demolition, on the other hand:
- Significantly shortens installation time.
- Creates no debris or dust.
- Minimizes the time the space is out of use.
- Avoids the extra costs that removing an existing floor can trigger (subfloor damage, plumbing issues).
Which Floors Can It Be Installed Over Directly?
As long as the surface is flat and solid, SPC flooring can be installed directly over most existing floor types:
- Ceramic and tile
- Concrete
- Old laminate or engineered wood (if solid and flat)
- Some vinyl flooring types
If the floor has significant sagging, cracks, or moisture problems, those issues need to be resolved before installation.
Preparation Before Installation
- Floor inspection: check the surface for flatness and solidity; repair any major cracks or sagging.
- Cleaning: remove dust, grease, and debris from the floor.
- Moisture check: especially for concrete floors, confirm the moisture level is within the acceptable range.
- Measurement and material calculation: measure the area to calculate the amount of flooring and waste allowance needed.
Step-by-Step Installation Process
- The floor is prepared for SPC flooring installation.
- The first row is started parallel to the wall.
- Panels are locked together using the click system.
- An expansion gap is left along the walls.
- Profiles are fitted at door thresholds and transition points.
- Installation is completed with a final inspection and cleanup.
For a medium-sized room, this process can usually be completed within a day, depending on the crew's experience.
What to Watch Out For
- If the floor has noticeable slope or sagging, it must be corrected before SPC installation.
- Don't skip the expansion gap (the space left along the walls).
- In wet areas (bathrooms, kitchens), follow the manufacturer's recommended details for joints and transition points.
Cost and Time Savings
Skipping demolition, debris removal, and floor preparation delivers direct savings in both labor and material waste. In commercial spaces especially, fewer days of closure also significantly reduces total cost.
Conclusion
Renovating without demolition, thanks to SPC flooring's click-lock system, offers a fast, clean, and economical solution for both residential and commercial projects. With Porfloor's SPC flooring collections and installation guides, you'll have everything you need to renovate your existing floor without tearing it out.
Explore Porfloor's SPC flooring collections, check our step-by-step installation guide, or get in touch with any questions.